How to upgrade your software license
Introduction
This tutorial explains how you can upgrade the licenses of your QNAP software subscriptions.
Check your available upgrade plans
- Open your web browser and go to https://software.qnap.com/
- Sign in with your account information.
-
Click your account name and select MY ACCOUNT.
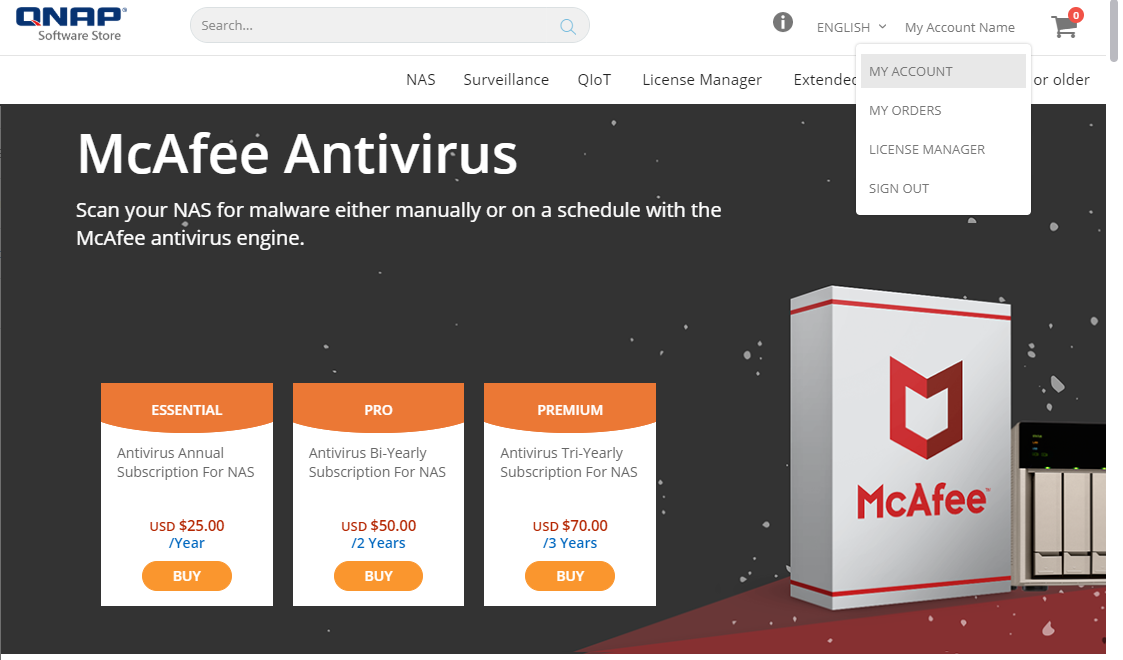
- Click Upgrade Plans.
-
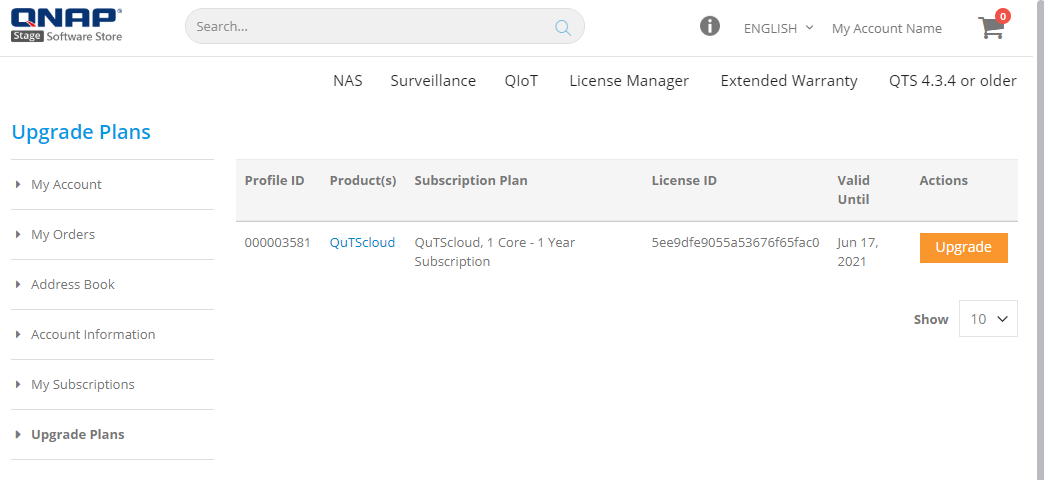
Your current subscriptions that can be upgraded will be listed.
Upgrading your software license
- Open your web browser and go to https://software.qnap.com/
- Sign in with your account information.
-
Click your account name and select MY ACCOUNT.
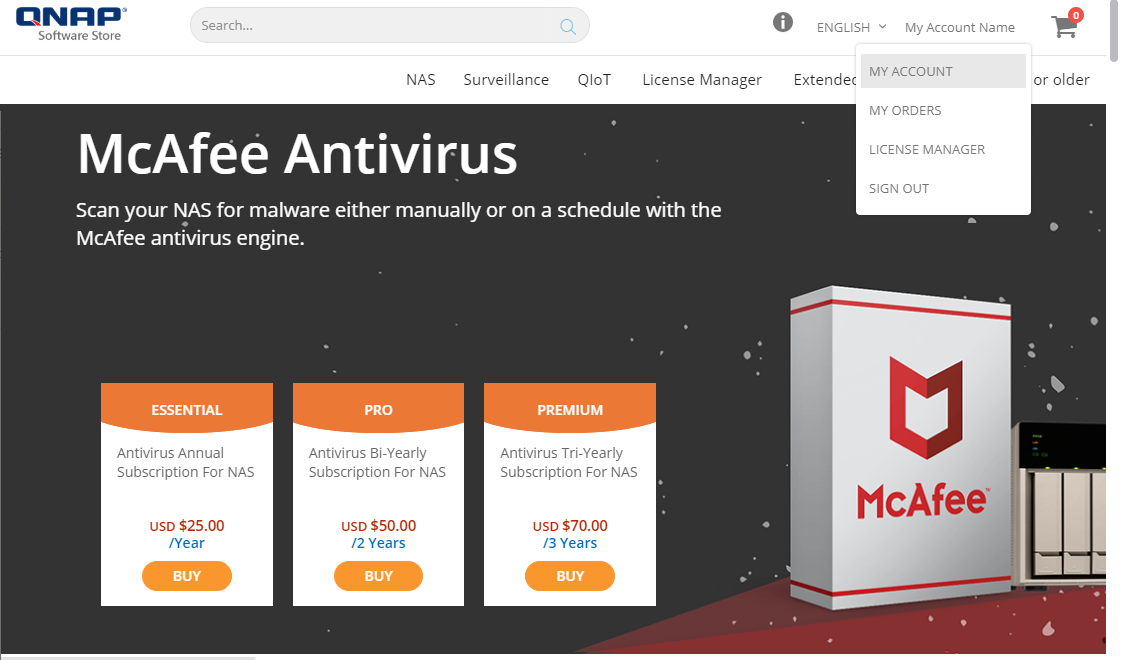
- Click Upgrade Plans.
-
Find the subscription you want to upgrade and click UPGRADE.
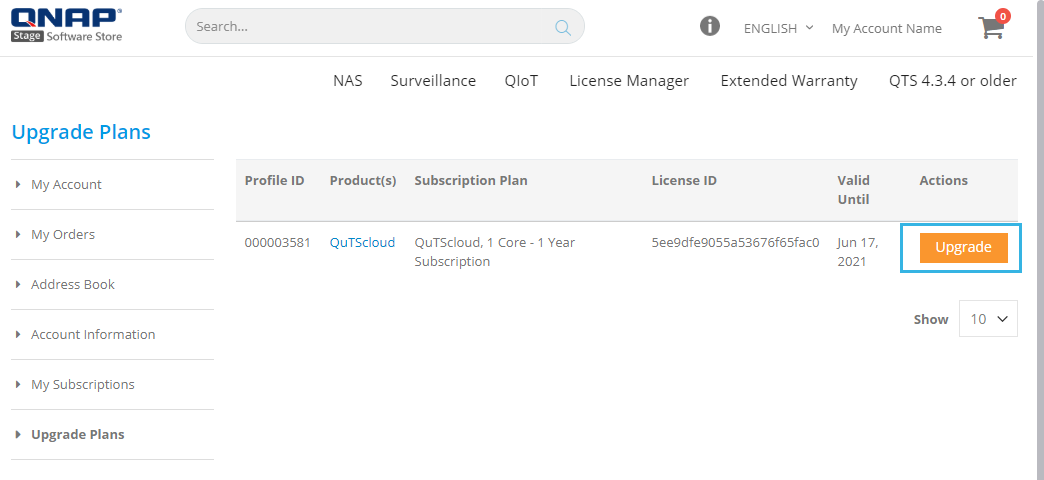 A popup displaying your available upgrade options opens.
-
Choose an upgrade from the available options and click Add to Cart.
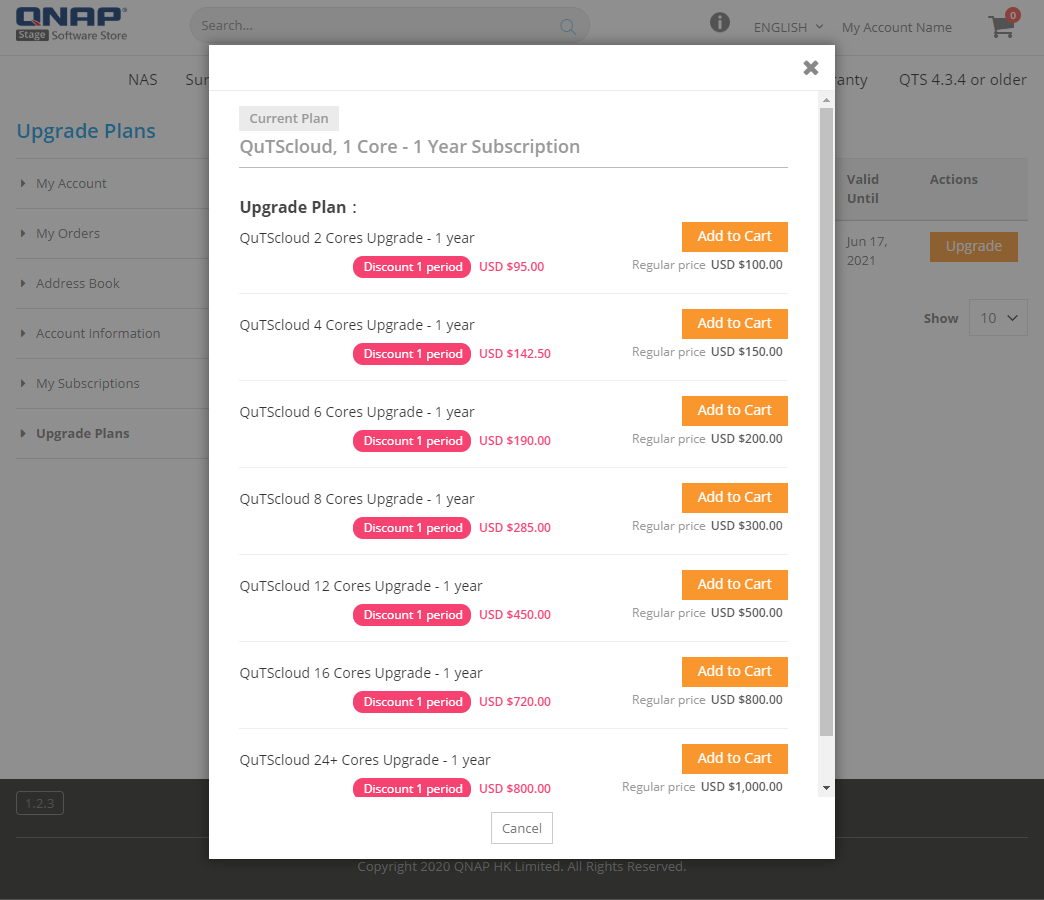 The popup closes and you receive an on-screen confirmation of the upgrade being added to your cart.
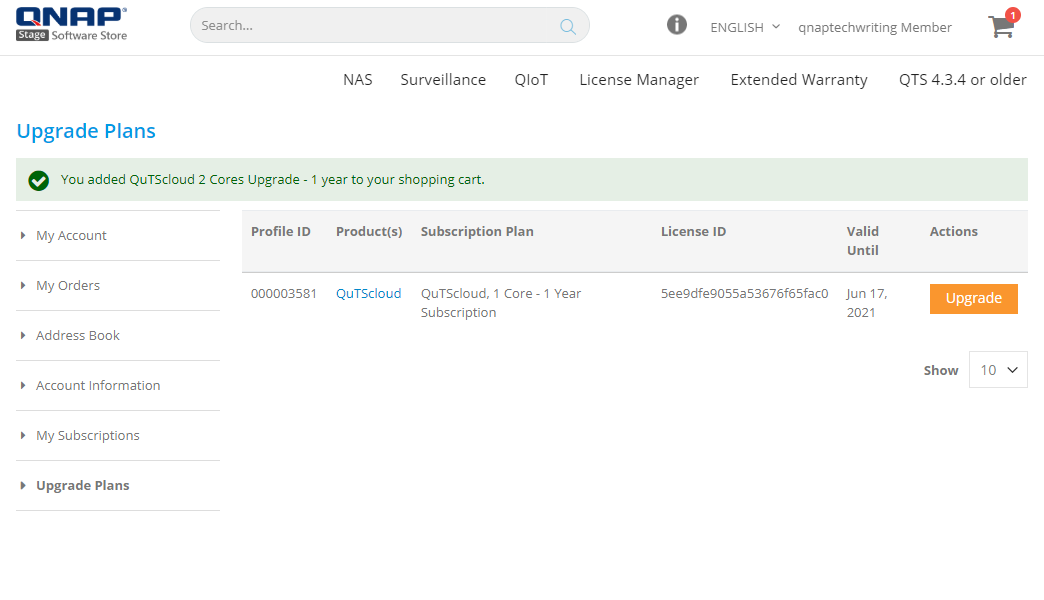
-
Click
 . A popup with your Cart contents opens.
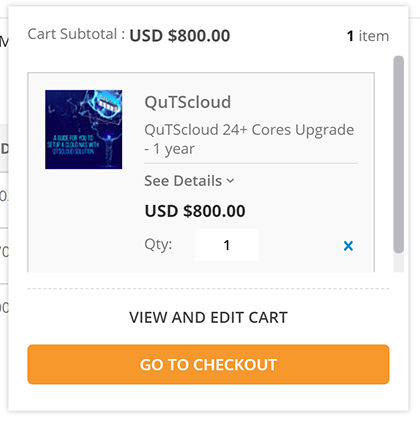
- Click GO TO CHECKOUT.
-
Review your order and payment information and click PAY WITH PAYPAL.
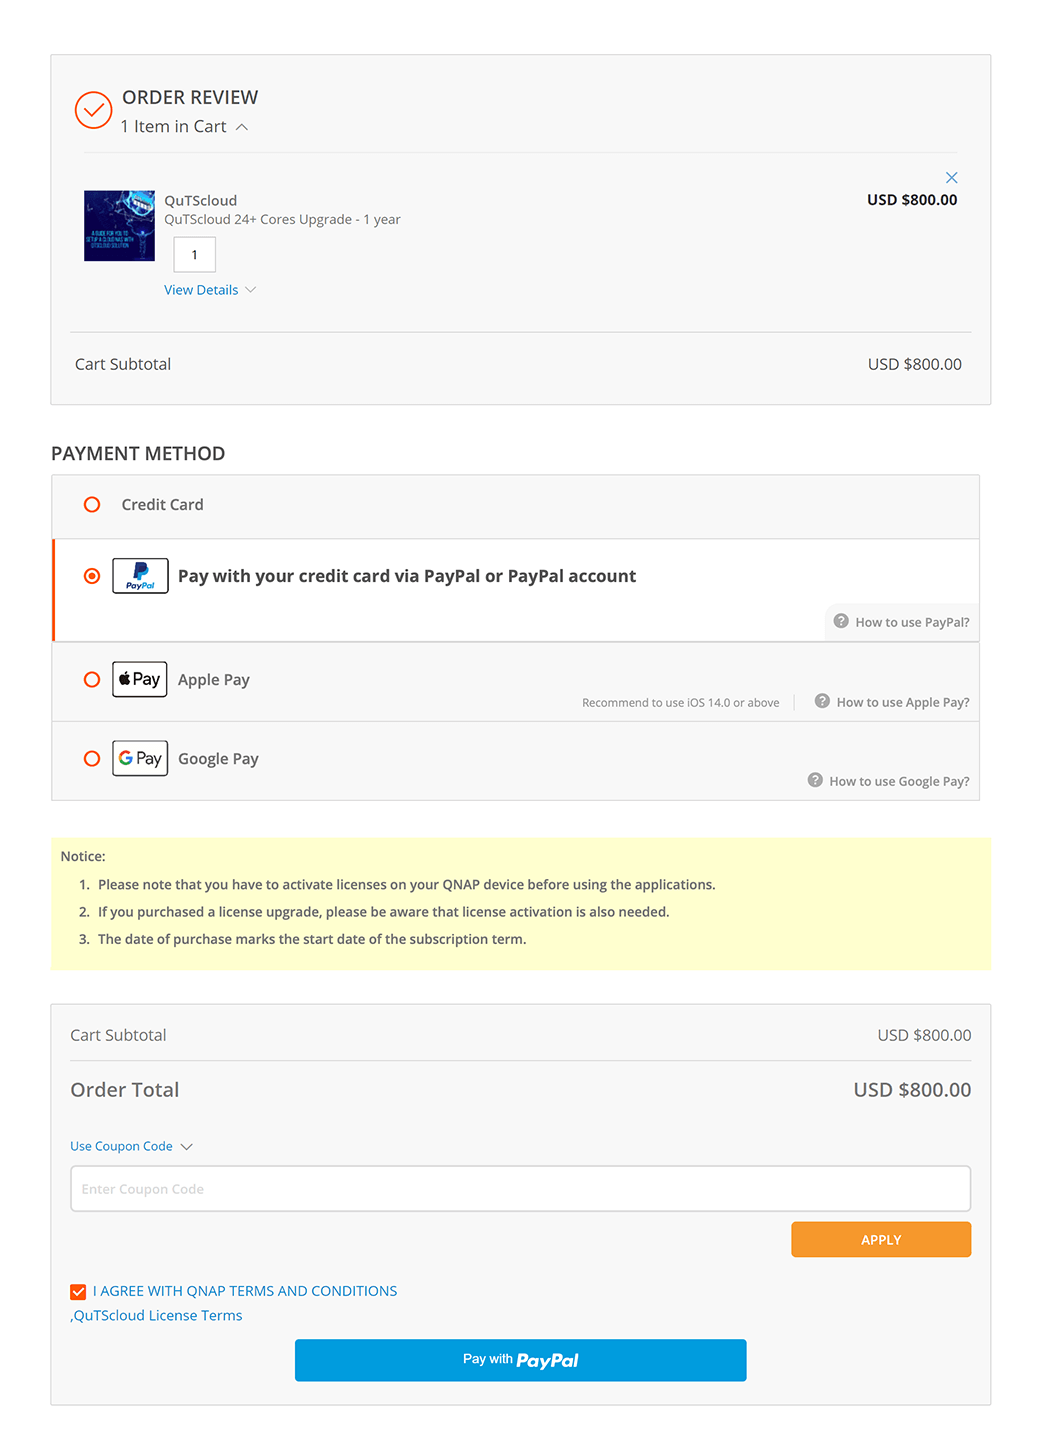 After the payment, your license subscription will immediately be upgraded.
-
Apply the upgrade to your QNAP device or cloud NAS using one of the following methods.
-
Activate the license in License Manager.
-
Click ACTIVATE LICENSE in the confirmation message.
You will be redirected to License Manager.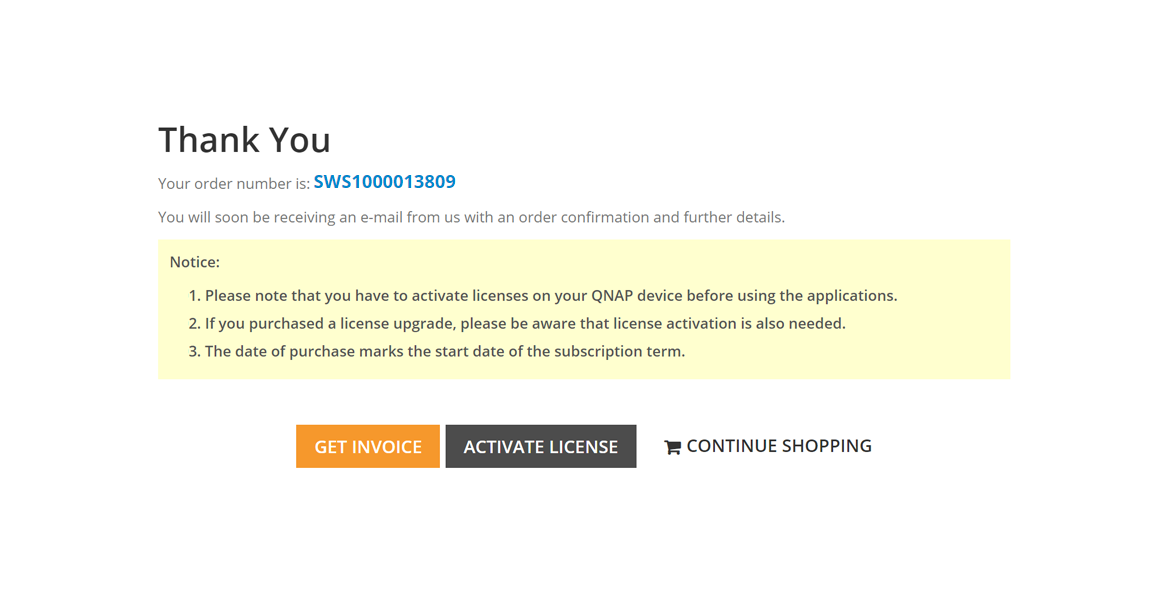
- Activate the license following the on-screen instructions.
-
Click ACTIVATE LICENSE in the confirmation message.
-
Sync the license in License Center.
- Log on to your QNAP device or cloud NAS.
- Go to License Center.
- Refresh the license.
License Center displays the upgraded plan.
-
Activate the license in License Manager.
Result: The upgrade takes effect. You can now access the features provided by the upgraded license.

